The days are shortening and the nights are getting cooler. The animals are scurrying around preparing for the winter ahead. The leaves have already turned their brilliant reds and yellows and oranges, and are now settling on autumnal tans and browns. A new scent of decaying leaf litter fills the nose. The wind rattles drying leaves still hanging on their branches above. The squirrels laugh from high on the branches and dart about. This walk through the woods is a noisy walk, unlike the peaceful quietude of a morning stroll during the summer. Thuds, boinks, and plunks start from overhead and then sound as if they are coming from all directions. It’s almost as if someone, or something, is practicing using a sling shot from above. A crunch underfoot startles the meditative mind and a quick glance down indicates what was stepped on. Acorns!
Oaks are deeply embedded in culture and lore, but in many areas today they are cast aside as nothing more than yearly sources of leaves to rake. However, the forgotten acorn is not forgotten by the animals of the woods; it is a source of food that sustains life. Ralph Waldo Emerson stated it best, “The creation of a thousand forests is in one acorn.” Endless years of food, shelter, and oxygen.
It is unfortunate that the early stories of acorns being a source of food for people turned into warnings of “Don’t eat those, they will make you sick.” Although rightly so, the acorn eaten raw might make one sick, the wise warning tends to stop there making it sound like acorns are highly poisonous. Over time, people have learned to depend less on wild food and opt more for the field and plow. It’s been so long since eating acorns was considered completely normal that folks have forgotten the art of processing them into edible food. In today’s culture, there are far fewer grandmas and grandpas who share stories of their own elders eating acorns during times of hardship, and even more members of the younger generations who consider eating an acorn a foreign idea. Except that it needn’t be that way.
Processing the acorns to make them palatable and digestible is not rocket science – one just needs to understand a few guidelines that were established millennia ago. Our ancestors knew how and it’s time we experience it again. Oak trees can be found in temperate forests all around the world and have long been a source of highly nutritious wild food and medicine. Acorns of any species of oak can be processed into food, but there are nuances between various species that an acorn connoisseur might consider when choosing the trees from which to harvest.
So, before assuming acorns are only for squirrels, consider collecting a few to make your own flour. Try different species and different methods to process them. The flour can be incorporated into pie crusts, pancakes, and gluten-free recipes, added to soups and stews, or eaten like a nut. The options are endless once the acorn is properly processed.
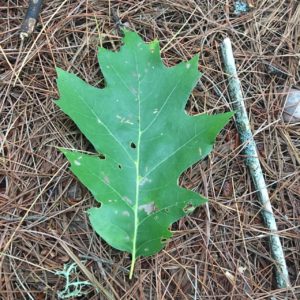
The first rule to harvesting wild food is to identify the plant (or tree) before collecting. Here is the leaf of the red oak (Quercus rubra). Generally, red oak leaves have pointed lobes whereas white oak leaves have rounded lobes. If you are unsure about your local trees, ask an herbalist or someone knowledgeable about wild plants. Review several field guides that include our local region.
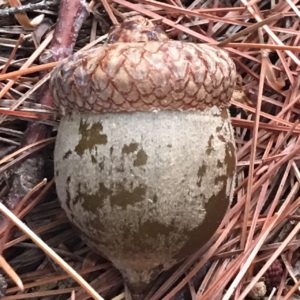
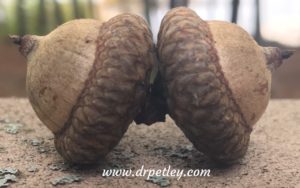
This is a picture of an acorn from the red oak. There are two basic groups of oaks: red (also labeled as black) and white. One way to distinguish oak groups is to look under the acorn cap. The inner surface of the white oak acorn cap will be smooth. The inner surface of the red oak acorn cap will be covered in velvety hairs. Acorns in the red oak category of trees take two seasons to mature and the dropped acorns will germinate in the spring of the following year, whereas the acorns in the white oak category take only one season to mature and will germinate once they fall to the ground. It takes about 25 years for the red oak to start producing acorns and about 50 years for it to produce a sizeable crop.
Acorns of the red oaks are higher in tannins and said to be bitterer (some dictionaries argue and prefer the phrase more bitter) than acorns of the white oaks. Remember, all acorns contain tannins, just varying concentrations. These tannins are water soluble constituents that are easily leached out by soaking the acorns and changing the water, making the acorns palatable.
Collecting and processing acorns for food should be a social event with family and friends – also, include passersby who might be curious as to why you are collecting acorns. Consider offering acorn-made treats so everyone can confirm that acorn flour is indeed an ideal food. This is how we once again collectively normalize a once-standard autumn event.
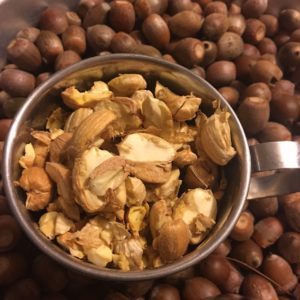
Once collected, the acorns need to be split open in order to collect the bitter meat. I will add here that the most time consuming and labor intensive part of making acorn flour is the cracking of the shells. Some use a heavy stone in order to crack the shell. I tend to use what I had on hand, which is often a nut cracker and nut pick. It works fine for small batches, but I would opt for the heavy stone for an entire harvest because it would be easier on the fingers. I’ve heard of some running over them with cars but I’ll leave that experiment for another time.
There are two ways to process acorns: with or without heat. Both involve soaking in water to leach the tannins. The method shown here is the method that does not involve heat. It takes longer to leach the tannins, but it helps retain the natural oils. The other method involves boiling the acorn meat to speed the leaching process. The meat is placed in a pot with water and boiled for 15 minutes. The water is discarded and the nuts are boiled again. This process is repeated until the nut meat has been leached of its tannins and tastes bland. Unfortunately, it can also boil out some of the healthy oils. Try both methods to see if you can detect a taste or texture difference. It is possible that one method is better suited for your needs.
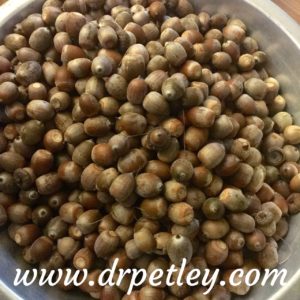
For those who think it would take many trees to produce enough flour for even a small batch of pancakes, it surprisingly doesn’t take many acorns at all. It takes about 3 cups of acorn meat to yield 1 cup of flour.
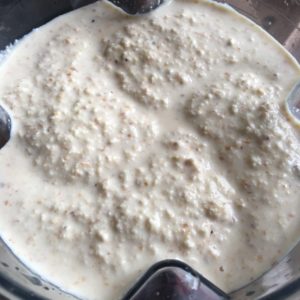
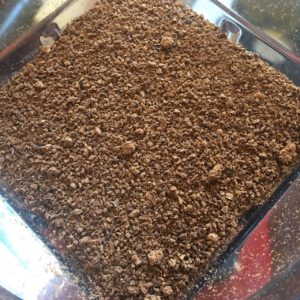
Once the acorns have been shelled, place them in a blender and add water to cover. By grinding the acorns at this stage, it allows the tannins to leach faster than had the meat been left whole. It only takes a minute or two to grind.
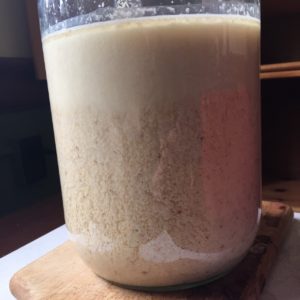
Place the contents in a large jar or bowl. I used a gallon glass jar. Add room temperature water to the top or to cover. Secure muslin or cheesecloth over the jar to keep out flies and dust.
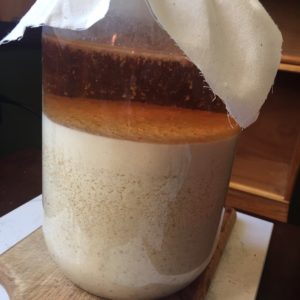
Let the mixture settle overnight. Notice the reddish color of the water – this is caused by the tannins. Carefully pour off the water without losing any of the pulp. Fill the jar again with fresh water. I prefer to give the mixture a quick stir at every washing. Repeat this step for about one week or until a sample of the nut meat tastes bland and not bitter. I go by taste and not the absence of the red coloring because that never disappears completely (although it does lighten up a bit over the course of the week). To create a basis for what is bland or bitter, sample a morsel just after grinding. Its astringency will pucker the mouth and make it feel extremely leathery.
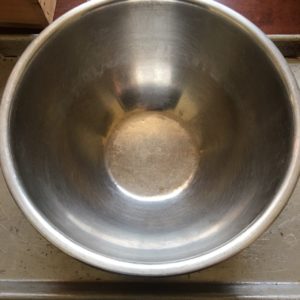
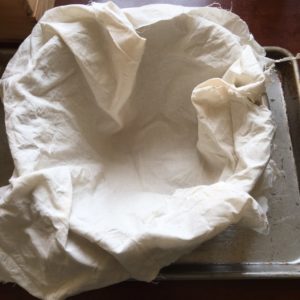
Once the meat tastes bland, it is time to strain out all the liquid. Line a large bowl with cheesecloth or muslin as shown.
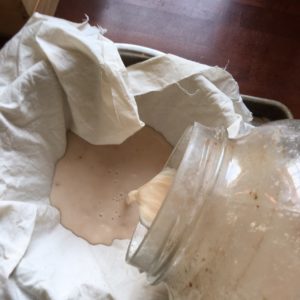
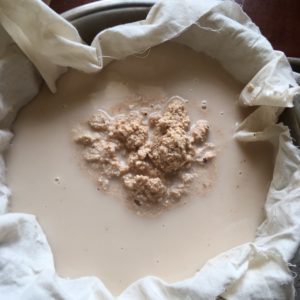
Pour the contents into the cloth. This can be done is batches if needed.
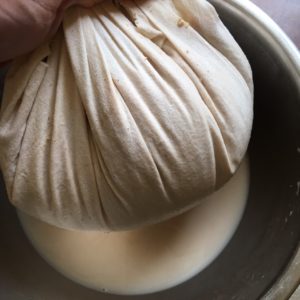
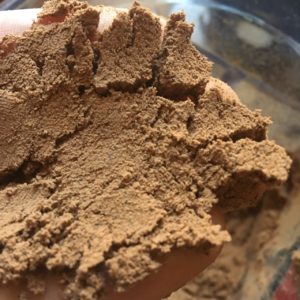
Bundle up the corners of the cloth, being careful not to spill the ground nut meat. Twist the corners together and squeeze out as much liquid as possible. A tincture press would make this job easier on the hands but is not required. It would certainly press out more water and shorten the drying process.
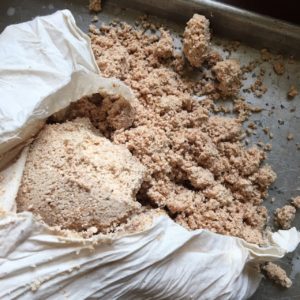
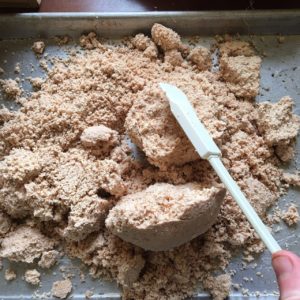
Spread the contents on a cookie sheet into a thin layer. You can either let this air dry at room temperature (it could take several days) or place it in a warmed oven (ideally, 100-150 degrees) for several hours. Note: Excess heat will destroy the natural oils.
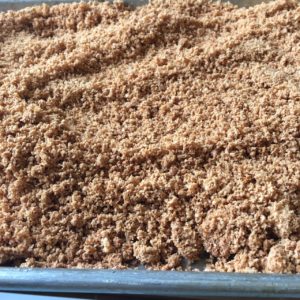
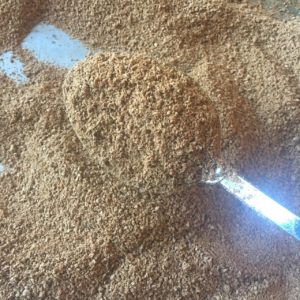
Dry until the ground nut meat feels dry to the touch and does not easily clump in the hand.
Place the dry and cooled acorn meat in a coffee grinder or food processor that is suitable for powdering dry material. One can also use a grain mill. Grind to a flour or your preferred level of coarseness.
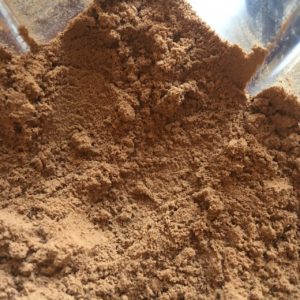
The acorn flour is now ready to be used as food! Store the flour in a glass jar away from light, humidity, and heat.
Dr. Nate Petley is a naturopathic doctor and clinical herbalist. He lectures throughout New England sharing his expertise in naturopathic and botanical medicine. Dr. Petley blends the art and science of herbalism in his clinic and classroom, relying on his 20 years of experience studying, wildcrafting, and making herbal medicine.
Dr. Nate Petley | www.drpetley.com | 2016. All rights reserved. All text and photos are the property of Nathaniel Petley, ND.